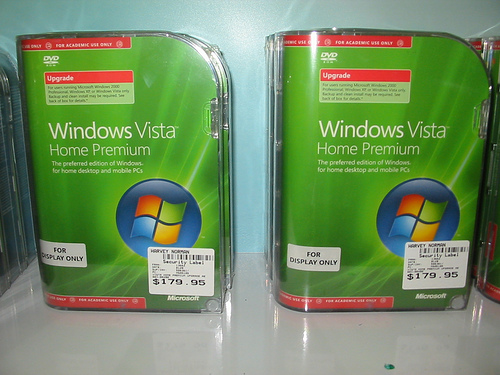
Upgrading Windows operating systems has become a nearly painless task over the years, but with Windows Vista a clean installation is always best.
However you might be wondering how to perform a clean installation of Windows Vista. Before installing any operating system cleanly there are reasons to consider why this is the best choice and if you have the necessary Windows Vista installation requirements.

- Drivers that cannot perform with new operating systems will present themselves and allow users to identify which need updates and which do not.
- Formatting your hard drive is a great way to get rid of all unwanted programs and add-ons that many users are not even aware they have.
- Unwanted programs and add-ons can slow down a computers performance significantly.
With those reasons in mind the steps to begin a clean install of Windows Vista are relatively easy. In addition to installing Windows Vista cleanly the user also unknowingly performs free computer maintenance by wiping all the unnecessary software from the old operating system. Make sure all discs and software keys are available before performing the tasks listed below:
- Using the Windows Vista installation disc, boot the desired computer.
- Locate and click the “Install Now” button.
- You will be prompted to enter a product key associated with the Windows Vista installation disc.
- DO NOT enter the product key, skip this step, locate and disable the option to “Automatically activate Windows when I’m online.”
- If asked to enter the product key again, click “No.”
- Then choose the edition of Windows Vista desired to install.
- You will then be asked which method of installation you prefer, select “Custom Advanced” Do not select “Upgrade.”
- If necessary format your hard drive by clicking on Drive options.
- Vista Setup will ask for a user name and password along with a computer name. Enter the data for all fields required. This will happen after reboot.
- To continue Windows Vista installation run the setup DVD in the actual Windows Vista software. Choose “Install Now”
- Select “Do not get the latest updates for installation”
- Locate the product key and enter it on the appropriate screen. Accept the EULA and choose “Upgrade.”
- To activate Windows Vista click on Start and right-click on “Computer.” Select “Properties” Click the option “Activate Windows Now.”
